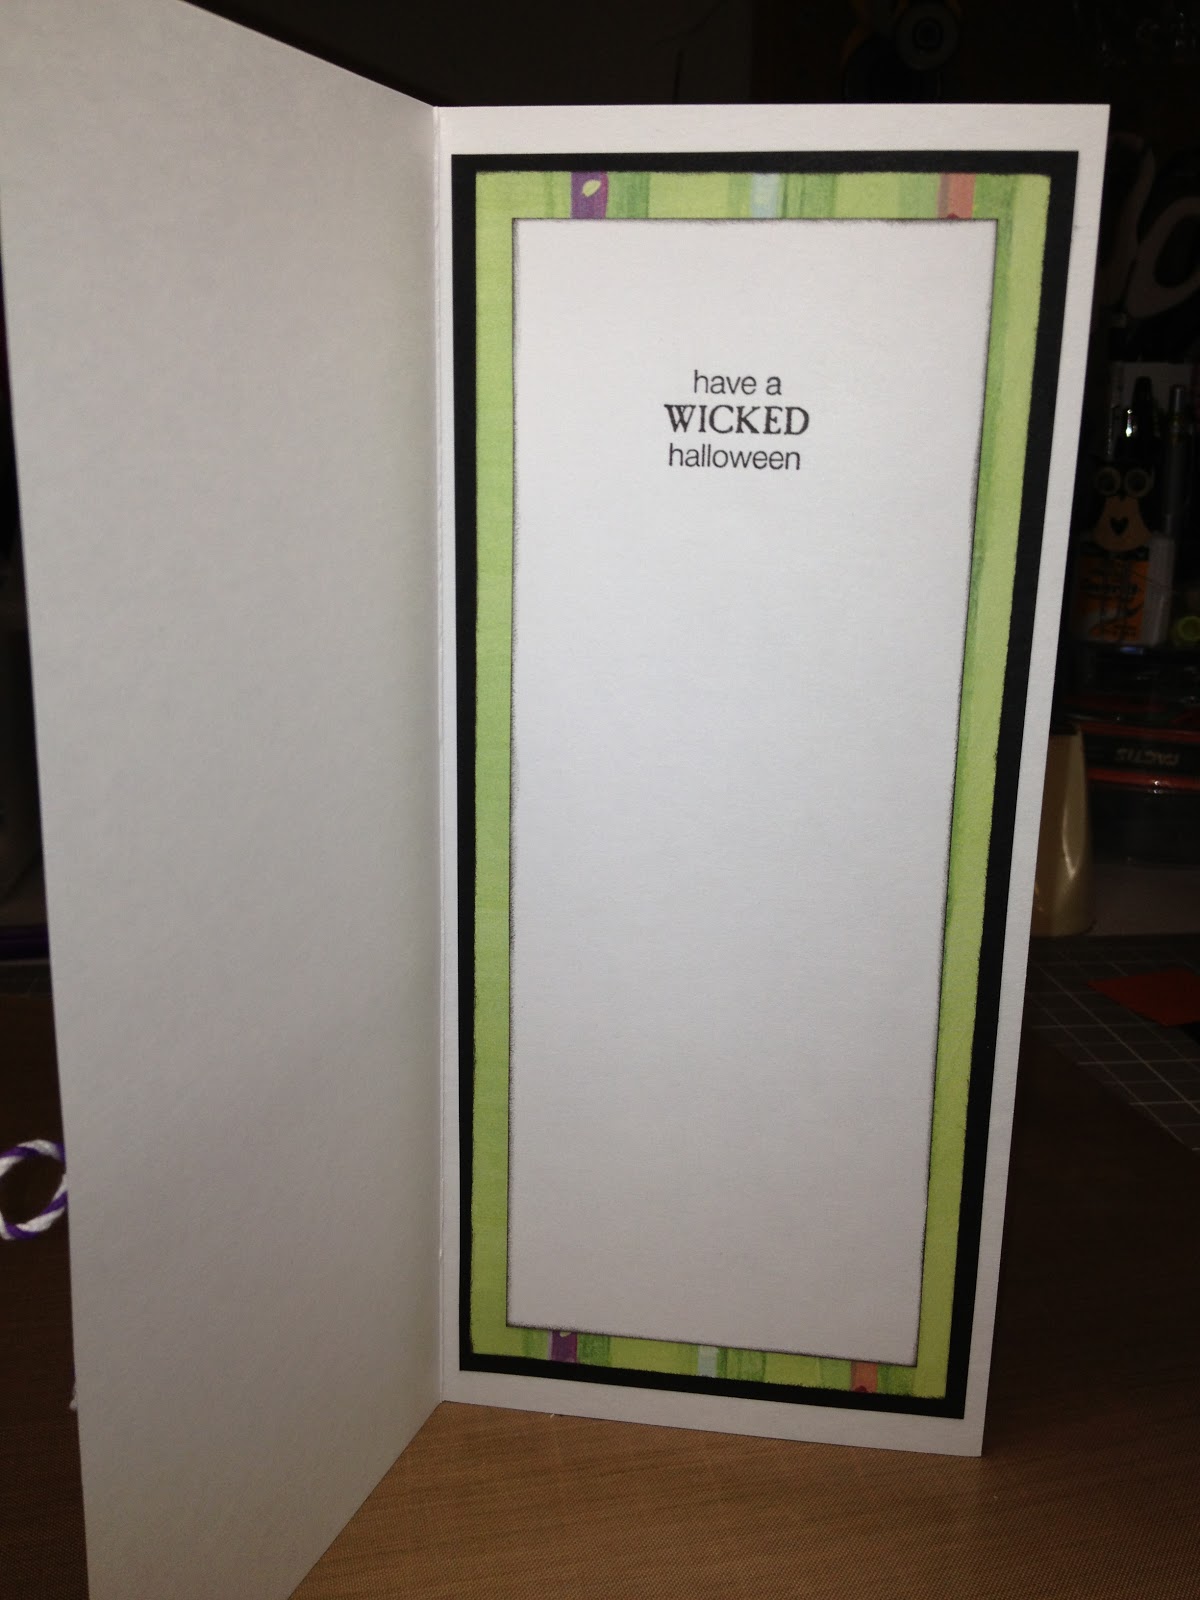
Here is the card I sent out for the October Card Chain Challenge at The Society of Stampaholics.This was my first time using pencil colors and Gamsol. It was interesting AND I need lots of practice. This adorable digital stamp is the Spooky Witch Toodle from Broken Box Stock. The sentiment is from Stampin' Up's Wicked Cool Stamp set. Miscellaneous unknown papers from my gigantic stash. You can't tell in the photos but the lil' witch is glammed up with some Clear Star from a Sakura Gelly Roll Pen.
I forgot to take a photo of the envelope. It's lined with the same green striped paper as the card.
I'll have another Halloween card tomorrow.
Showing posts with label cards. Show all posts
Thursday, October 25, 2012
Monday, October 1, 2012
September Card Chain Challenge -- Be the Chocolate
Below is the card I
made for the September Card Chain Challenge at The Society of Stampaholics. http://dominodebi.typepad.com/sos/
I like the Card Chain Challenges because I am only making one card. Sometimes during the school year I get too busy to do swaps of multiple cards.
Front
Inside
Pam’s Be the Chocolate
Card
Patterned
Card stock
|
DCV 8x8 Crafty Stack
|
Card stock
|
All
Stampin’Up—Whisper White, Rose Red, Chocolate Chip
|
Image/Stamp
|
Art
Impressions “Girlfriends” My Favorite Things Set
|
Inks
|
Memento
Tuxedo Black
|
Embellishments
|
|
Tools
|
|
Misc.
|
Copic
Markers, Foam Squares
|
Friday, August 31, 2012
August Card Chain Challenge-- Sew Proud
Below is the card I made for the August Card Chain Challenge at The Society of Stampaholics. http://dominodebi.typepad.com/sos/
Front
Inside
Pam’s Sew Clever Card
| Ink | Memento Tuxedo Black, SU Basic Gray, SU Wild Wasabi Stamp and Write Marker |
| Stamps | Gina K. Designs Sew Pretty stamps by Asela Hopkins |
| Cardstock/Paper | SU Melon Mambo, So Saffron, Certainly Celery, DCWV –The Crafty Stack |
| Other Materials | SU So Saffron Taffeta Ribbon, Thermoweb 3D Foam Squares, ATG |
Thursday, August 2, 2012
The DRESS!
I know everyone is making dress cards, but I couldn't help myself. They are so adorable! The following two links are for two different templates (I have used both).
http://www.splitcoaststampers.com/forums/templates-f143/dress-template-t148547.html
and
http://images.splitcoaststampers.com/data/gallery/500/2011/07/05/Dress-pattern_by_JaneCS.jpg
The link below has a video with instructions and a template to print (I did not use these)
http://www.stampacademy.com/free_videos/pattern-dress-card/
When cutting the template piece for the skirt, use temporary adhesive so that you can leave the template in place to see the fold lines. When folding start on either side of the skirt with a valley fold, next a mountain, and repeat both one more time. Go to the other side of the skirt and repeat that process. Adhere the skirt to the card base first. For the top of the dress (bodice for the sewers) adhere the bottom section however you like. To add dimension to the bodice use foam tape in the chest area. Add tiny pearls or other bling for buttons and a belt of ribbon tied in a bow. I had soo much fun making these cards! It was hard to stop.
http://www.splitcoaststampers.com/forums/templates-f143/dress-template-t148547.html
and
http://images.splitcoaststampers.com/data/gallery/500/2011/07/05/Dress-pattern_by_JaneCS.jpg
The link below has a video with instructions and a template to print (I did not use these)
http://www.stampacademy.com/free_videos/pattern-dress-card/
The animal print is from a bag from something I purchased at a boutique booth at South Bend Farmer's Market.
This is my favorite.
Somehow, I lost a couple of bows.
Friday, July 13, 2012
Trees, Branches and Leaves Card Swap at SplitCoastStampers Card 2
Front view1
Front view 2 (different lighting)
Side View 1
Side view 2
Other Side
Card Back
I cut this card with my Gazelle die cutter using SVG Cut's Edisto Island Cards SVG Kit's Oak Manor Step Card. http://svgcuts.com/index.php?main_page=product_info&cPath=43&products_id=253 I like SVG Cuts files, with many of them there is a video with some instructions and tip/hints to help with cutting and assembling the projects.
All papers are Stampin' Up.
The sentiment stamp is from Stampin' Up's Petite Pairs.
Trees, Branches and Leaves Card Swap at SplitCoastStampers Card 1
| Card Front |
Card Inside
I made a template for the hills. After adhering the back hill layer I used Walnut Stain and Peeled paint Ranger Distress Inks to ink the tree stamp. Versa Fine onyx black ink was used for the sentiment. The remaining hill layers were adhered with foam squares. The leaves on the inside of the card were cut with Cuttlebug Leaf Dies.
Papers were all from my stash.
Tree Stamp - Thoughts and Prayers from Stampin' Up
Friend to Friend Stamp - Teeny Tiny Wishes from Stampin'Up
Saturday, June 16, 2012
Card Swap
This 3 x 3" card is for a Christmas in July Card Swap on http://www.splitcoaststampers.com/ forums.
Supplies: Holiday Cheer Card | |
Patterned Paper: | |
Card stock | Su Wild Wasabi and Whisper White, water color paper, (snow) stash |
Image: | SU Loads of Love stamp set |
Inks: | SU Wild Wasabi, Cherry Cobbler, and Crumb Cake, StazOn Jet Black, Versa Fine Onyx Black |
Embellishments: | |
Tools: | Aqua pen, ATG |
Misc: | Foam Mounting Tape, Sakura Clear Star Pen, Blacks and gray-Copic Markers |
Subscribe to:
Posts (Atom)


